Wick Trimming 101: Unlock the Full Potential of Your Candles
Introduction
Hey, candle lovers! Do you know the secret to making your candles last longer, burn cleaner, and smell even better? It's all about wick trimming! In this blog post, we'll share everything you need to know about wick trimming, including why it's important and how to do it like a pro. So, let's dive in and unlock the full potential of your candles!

Why Wick Trimming Matters
There are three big reasons why wick trimming is essential for every candle lover:Longer burn times: Trimming your wick helps your candle burn slower, giving you more time to enjoy its warm, inviting glow. Who doesn't want their candles to last longer?
Cleaner burns: A well-trimmed wick means less soot and smoke. Long wicks can cause your candles to smoke and leave residue on your walls and furniture. Keep it clean, folks!
Amazing fragrances: A properly trimmed wick allows your candle to melt evenly, releasing its full fragrance potential. Say goodbye to wasted wax and hello to delightful scents!
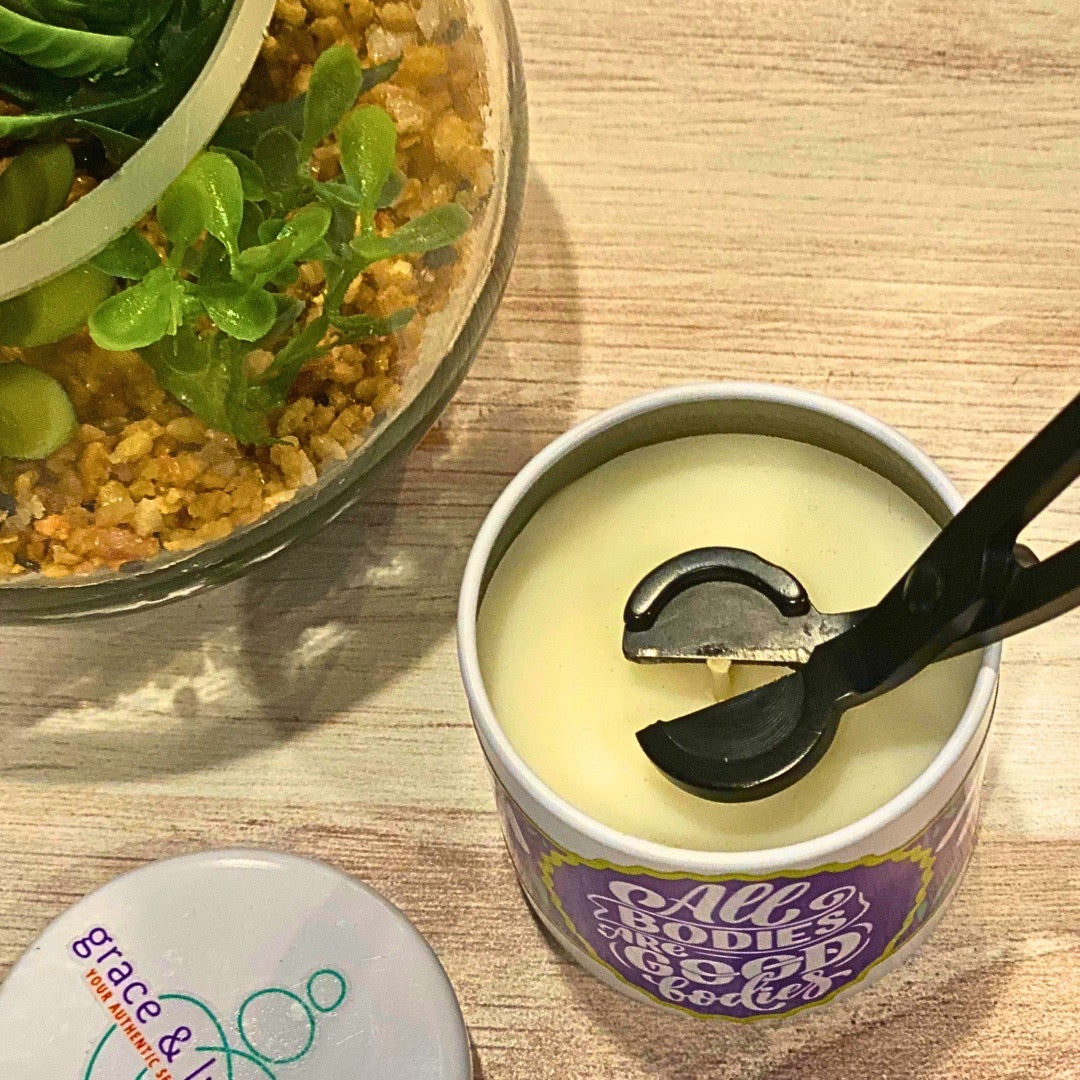
How to Trim Your Wick Like a Pro
Ready to become a wick-trimming master? Just follow these easy steps:Wait for the wax: Make sure the wax has fully hardened before you trim the wick. This way, you won't damage the candle.
Get the right tools: A high-quality wick trimmer is essential for proper candle care. Check out our elegant Wick Trimmer here.
Trim to the perfect length: The ideal wick length is about 1/4 inch (6-8mm). Just place the wick trimmer at the base of the wick and snip!
Remove the trimmed wick: After trimming, remove the cut-off wick from the candle's surface. Leaving it in the wax can cause problems and affect the candle's performance.

0 comments